Best Webcam Lighting Fixes Before You Buy New Gear
Weak webcam quality is usually a lighting probIn the age of remote work, your webcam is your primary representative in the professional world. However, many adults feel frustrated by Grainy, "Cave-Like" video quality, often blaming their $70 Logitech webcam or their laptop's built-in lens. The truth is that even a $3,000 professional cinema camera will look terrible in a poorly lit room. At RetireGoal, we believe in fixing the light before you fix the gear. Lighting is the "First Principle" of video quality.
In the age of remote work, your webcam is your primary representative in the professional world. However, many adults feel frustrated by Grainy, "Cave-Like" video quality, often blaming their $70 Logitech webcam or their laptop's built-in lens. The truth is that even a $3,000 professional cinema camera will look terrible in a poorly lit room. At RetireGoal, we believe in fixing the light before you fix the gear. Lighting is the "First Principle" of video quality.
The Physics of Digital Grain: Why Your Camera is Struggling
Webcam sensors are tiny—roughly the size of a grain of rice. Because they are so small, they have a limited "Surface Area" to capture photons. When a room is dark, the camera’s software tries to "boost" the signal artificially to make the image visible.
This process is called "Gain." Just like turning up the volume on a low-quality audio recording creates "Hiss," turning up the gain on a video sensor creates "Digital Noise" or grain. By providing enough physical light, you allow the sensor to work at its native sensitivity (Low ISO), resulting in a crisp, professional look that looks like you've upgraded your hardware.
Lighting Recipe 1: The Window Pivot (The Gold Standard)
The most beautiful, skin-flattering light source is available for free every morning: the sun. Professional photographers call this "Large Source Lighting."
- The Setup: Position your desk so that you are directly facing a window. The light should be hitting your face evenly from the front.
- Why it Works: A window acts as a massive "Softbox." Because the light source is physically larger than your head, the light "wraps" around your features, filling in the shadows under your eyes and nose.
- The Mistake: Never put the window behind you. This creates "Backlighting," where the camera sensors are overwhelmed by the bright sky, turning you into a dark, featureless silhouette. If the window is behind you, your colleagues are looking at a white void while trying to guess what your face looks like.
Lighting Recipe 2: The "Wall Bounce" (The Pro Secret)
If you don't have a window, or you're on a high-stakes call at 8 PM, your instinct will be to point a desk lamp directly at your face. Do not do this. Direct light from a small bulb creates "Hot Spots" (shiny forehead) and harsh, unflattering shadows.
- The Setup: Place a powerful desk lamp or a floor lamp behind your monitor and point it at the wall directly in front of you.
- Why it Works: The light hits the wall and "bounces" back toward you. The entire wall now becomes your light source. This mimics the soft, diffused effect of an expensive professional lighting kit using a $10 IKEA lamp. It is the "zero-cost" path to a studio look.
Lighting Recipe 3: The Monitor "Key Light" Hack
If you are a minimalist and want zero extra gear on your desk, use the 27-inch light source you are already looking at.
- The Setup: Open a blank Google Doc, a white PDF, or a specialized "White Screen" website and set it to full screen on your primary monitor. Maximize the monitor’s brightness.
- Why it Works: For most people sitting 24 inches from their screen, a modern monitor at full brightness provides a significant "Lumen Output." It’s enough to illuminate your features and remove the shadows caused by overhead ceiling lights (which are the enemy of good video).
The "Three-Point" Framework: Studio Quality at Home
If you do a lot of public speaking, webinars, or high-level sales calls, you might want to invest $50 in a dedicated LED panel kit. To use them correctly, follow the "Cinema Standard":
- The Key Light: This is your primary light. Position it 45 degrees to the left or right of your camera, slightly above eye level. This creates "Dimension" on your face.
- The Fill Light: Position this on the opposite side of the Key Light, but at half the brightness. Its only job is to "soften" the shadows on the dark side of your face so you don't look like a character in a film noir.
- The Hair Light (Rim Light): This is the secret to looking "3D." Place a small light behind you, pointed at the back of your head or shoulders. This creates a thin "halo" of light that separates your dark hair or clothes from the dark background. It’s what makes a "Pro" setup look pro.
Color Temperature: Why You Look Like a Ghost (or an Orange)
Light isn't just "bright" or "dim"; it has a color, measured in Kelvin (K).
- 5600K (Daylight): This matches the blue-ish white light of the sun. It looks crisp, modern, and "clean."
- 3200K (Tungsten): This matches the warm, orange glow of traditional incandescent light bulbs. It looks "cozy" but can make skin look muddy on a webcam.
The Golden Rule of Color: Do not mix your temperatures. If you have a window open (5600K) but your desk lamp is a warm "soft white" bulb (3200K), your camera's "White Balance" will get confused. Half of your face will look blue and the other half will look orange. For video calls, aim for 5000K-5600K across all your light sources.
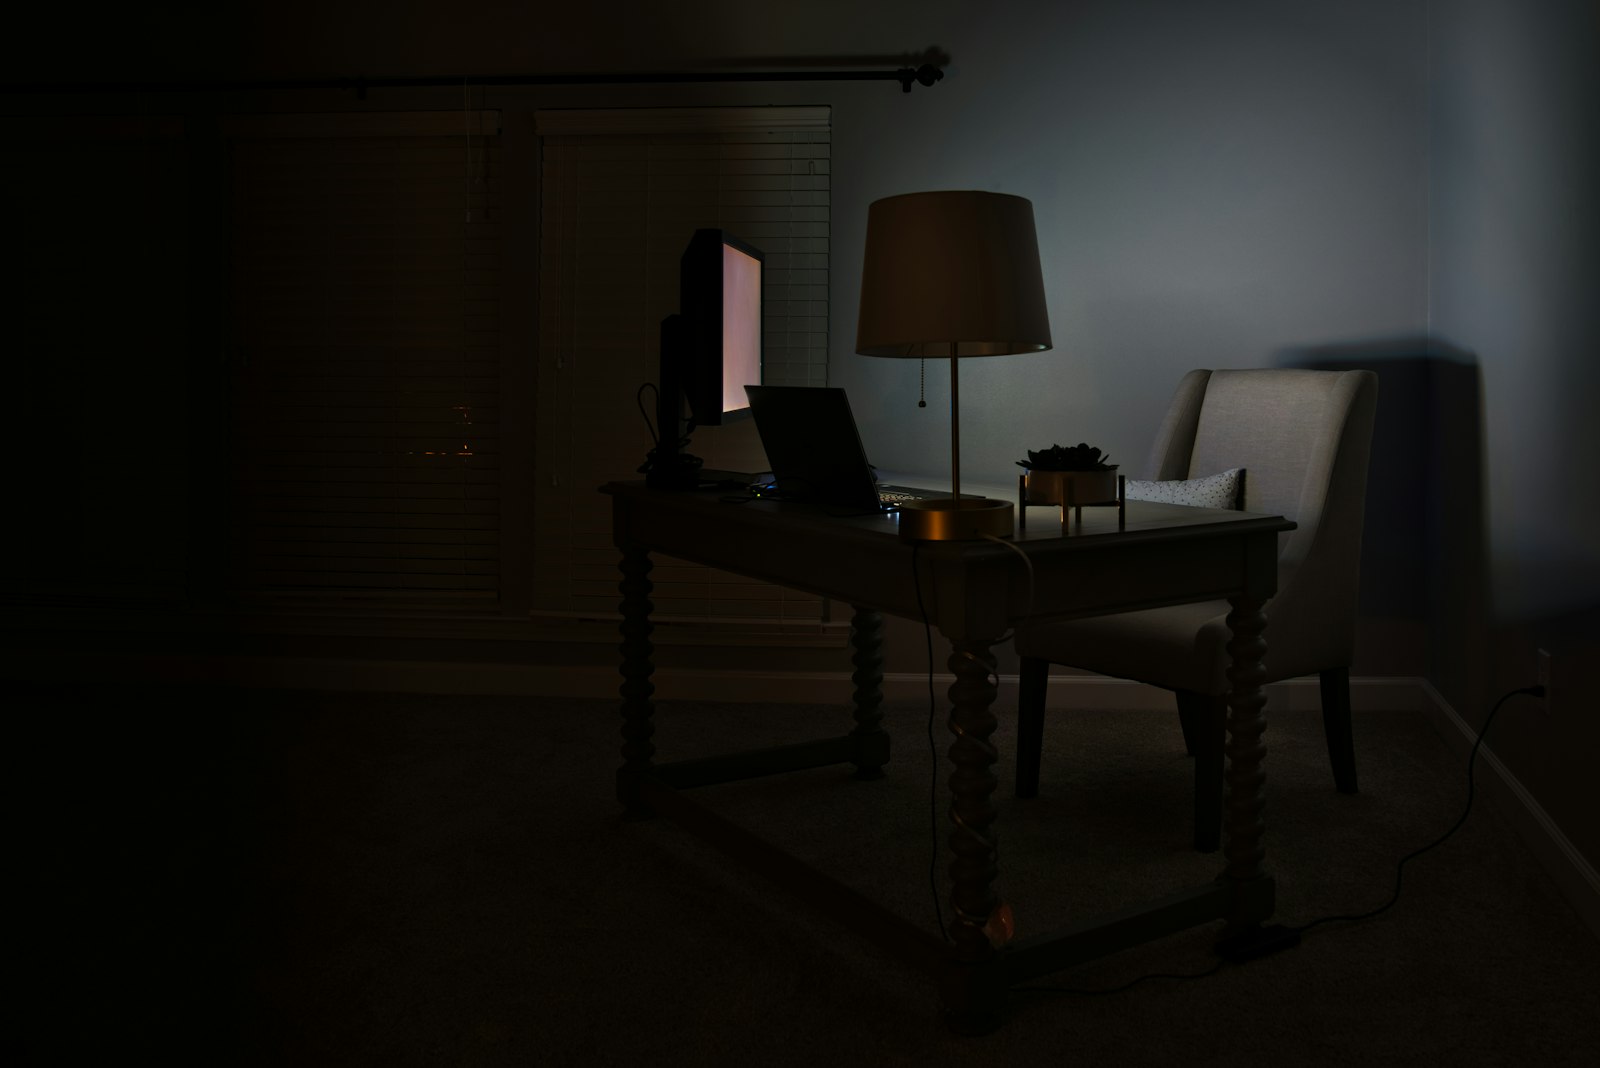
Background Lighting: Killing the "Cave" Effect
Many home offices suffer from "Background Collapse." You are lit well, but everything behind you is pitch black. This makes it look like you are calling from a basement.
To fix this, add a "Background Light" (or "Practical Light"). A small lamp on a shelf behind you, or an LED strip behind your desk, adds depth to the room. It lets the viewer's eyes "rest" on something other than just your face, making the call feel less intense and more natural.
The "Glasses Glare" Problem: Lighting for the Bespectacled
If you wear glasses, a ring light or a monitor light will create a distracting white circle in your lenses. - The Fix: Move your lights higher and further to the sides. Glare is a matter of "Angle of Incidence." If the light is coming from a high angle (45 degrees up and 45 degrees out), the reflection will bounce off your glasses and hit your desk rather than the camera lens.
Skin Tone Management: Avoiding the "Washout"
Webcams often overexpose skin, making you look like a "Ghost" or a "light bulb." - Step 1: Lower your monitor brightness slightly if it's your primary light. - Step 2: Use the "Exposure Compensation" slider in your webcam software (like Logi Tune). Dropping the exposure by -0.5 or -1.0 often brings back the natural detail and "texture" of your skin that the automatic settings tend to blow out.
Conclusion: Lighting as a Professional Courtesy
In the modern "Operating System" of a career, video calls are your primary interface with colleagues and clients. Good lighting isn't about vanity—it is a professional courtesy. When you look clear, lit, and present, you reduce the "Cognitive Friction" for the people listening to you. They can focus on your ideas, your strategy, and your results rather than squinting at a grainy, dark rectangle.
Spend 15 minutes today experimenting. Move your lamp. Turn your desk toward the window. Bounce the light off the wall. You'll find that the "gear" was never the problem; you just needed to take control of the photons.